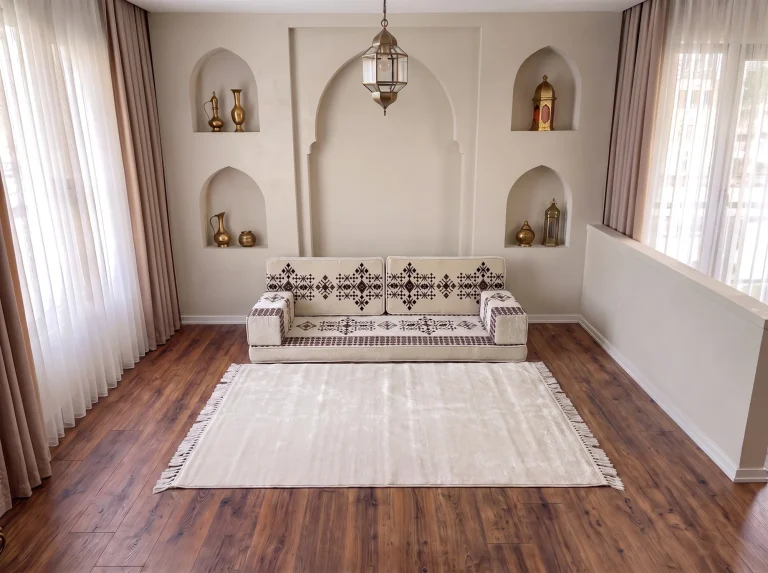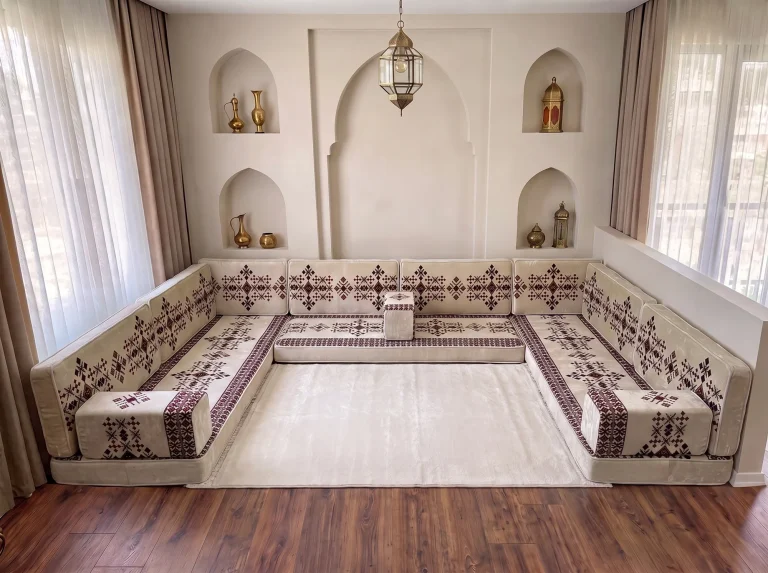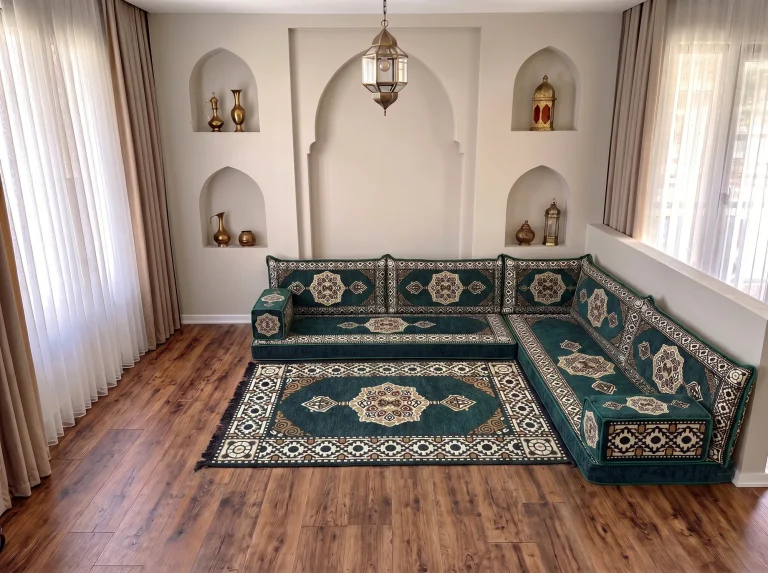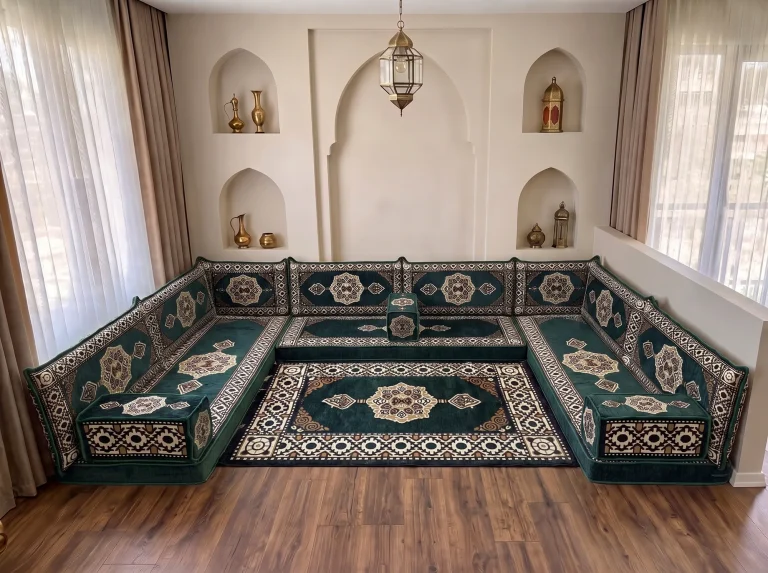
To measure for a majlis, record the length of each wall the seating will run along, taken low down just above the skirting board, in centimetres. Then note every door, window sill, radiator and socket with its distance from the nearest corner, and photograph each wall. Send the sketch and photos to Sofhu and the set is cut to fit.
- Tools
- Tape measure, paper, pencil, phone camera
- Units
- Centimetres preferred; label inches clearly if you use them
- Where to measure
- Low on the wall, just above the skirting board
- Check twice
- Measure each wall in both directions
- Send
- Sketch, wall photos, layout wanted, open ends
On this page
Ten minutes with a tape measure decides whether a made-to-measure set fits the room or stops short of the corner. This guide shows how to measure for a majlis in the order the workshop needs the numbers, for a single row, an L-shape or a U-shape. You do not need to know anything about furniture. You need a tape, a sheet of paper and a phone.
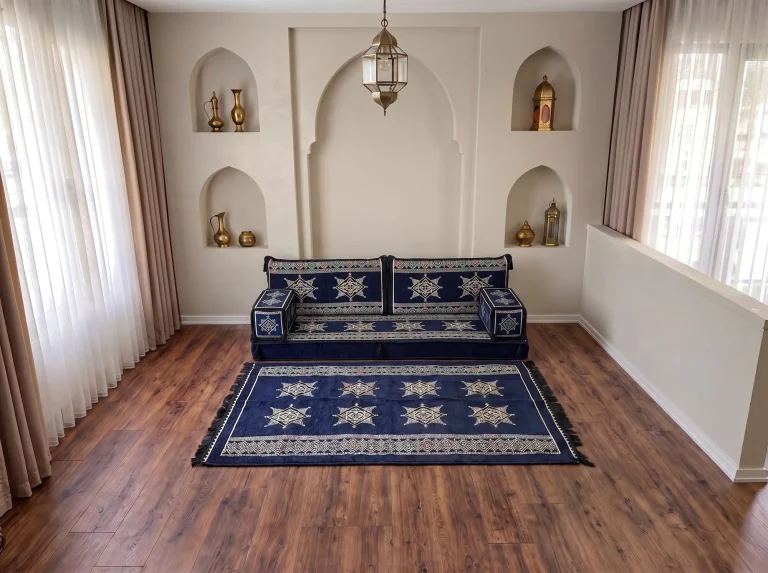
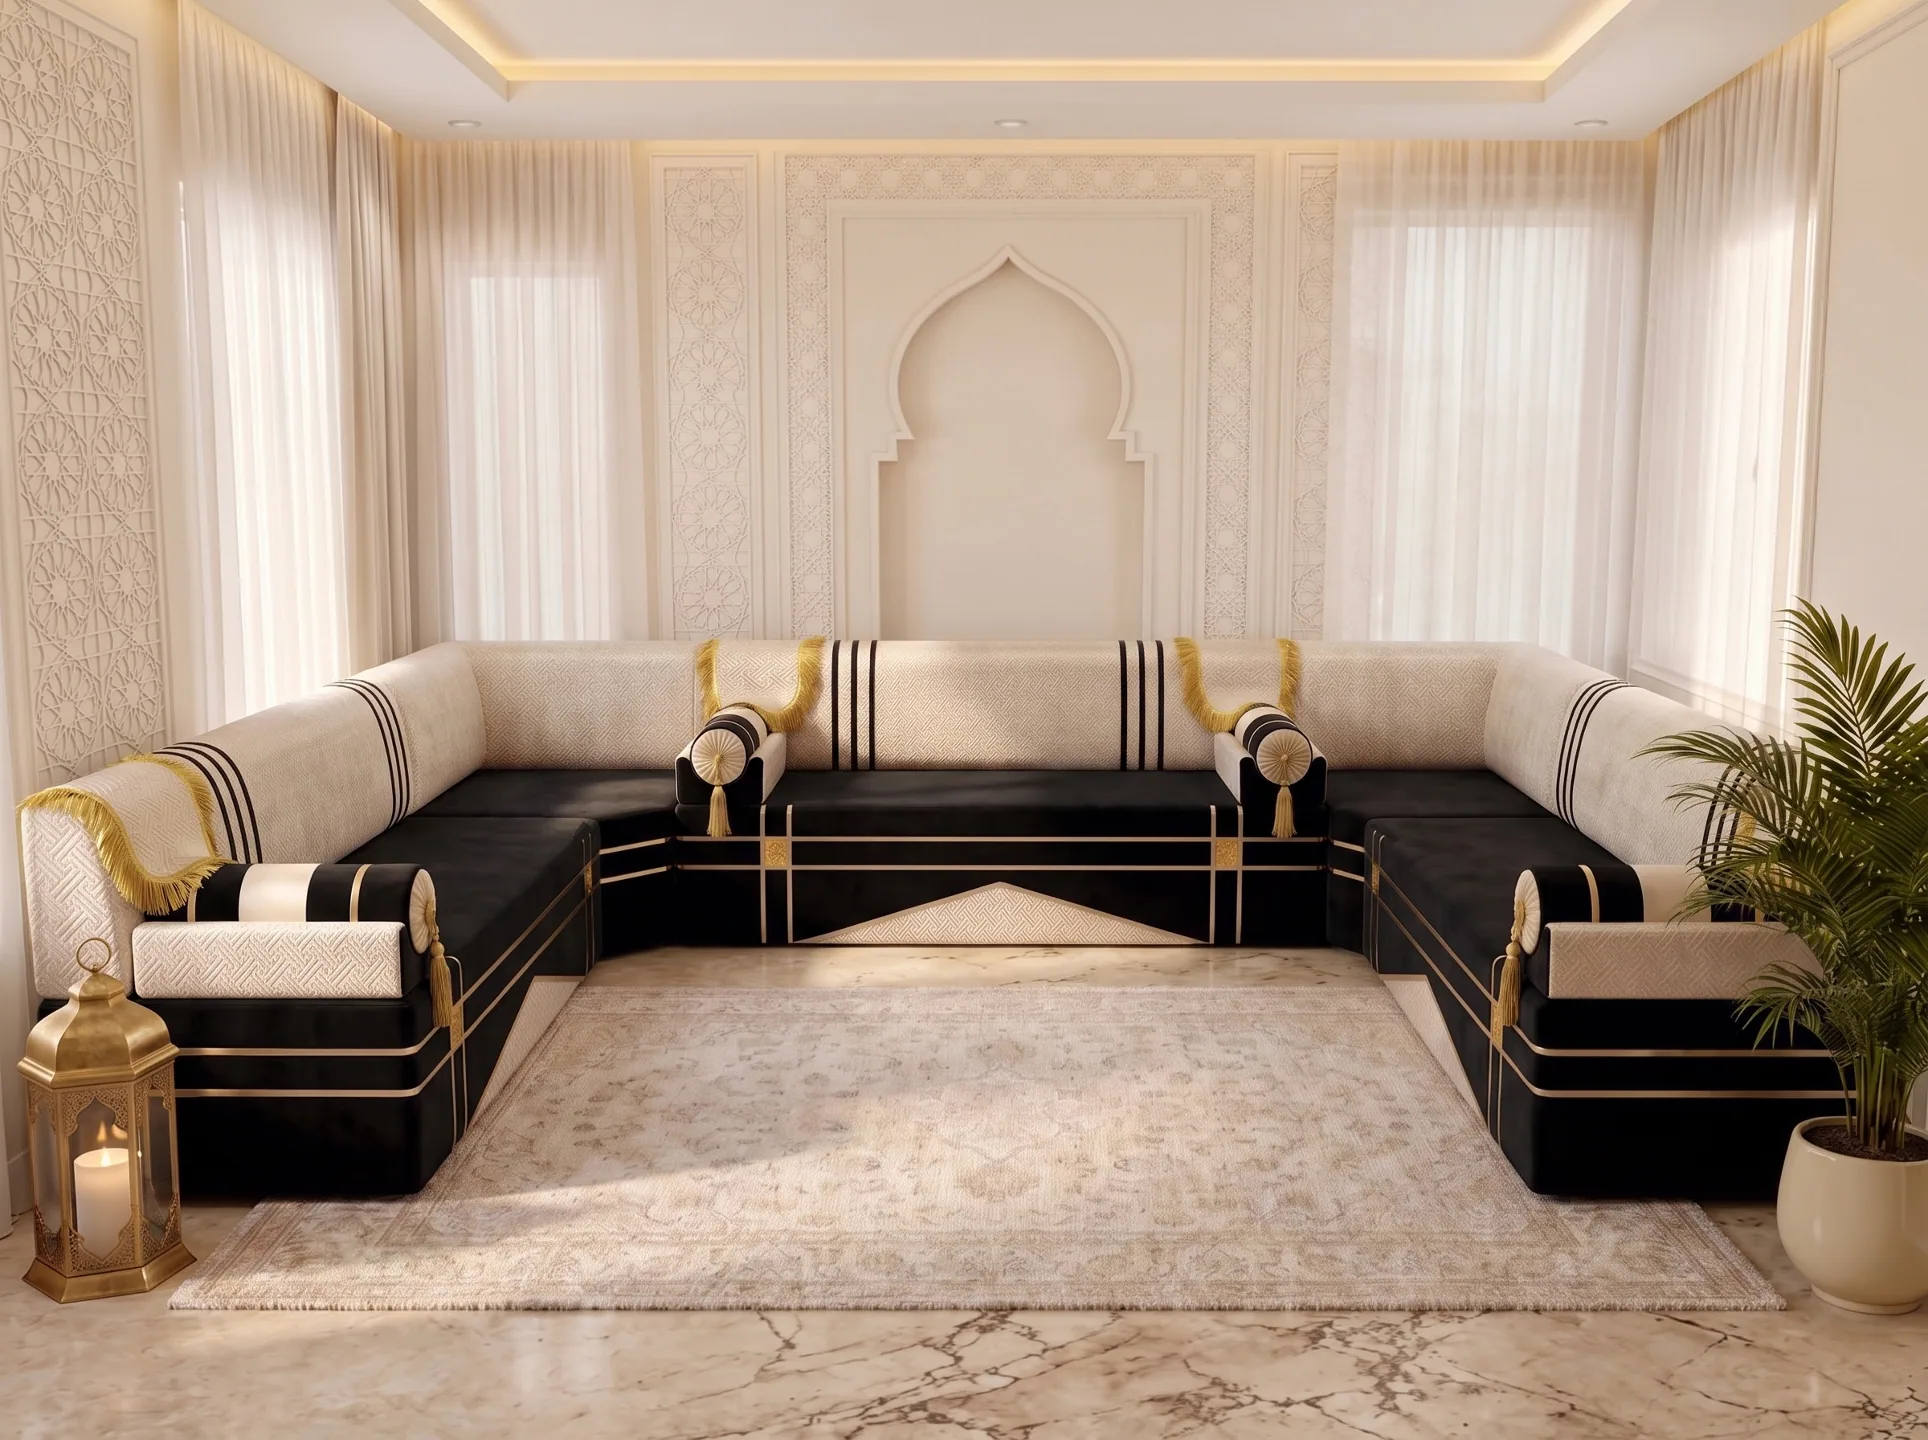
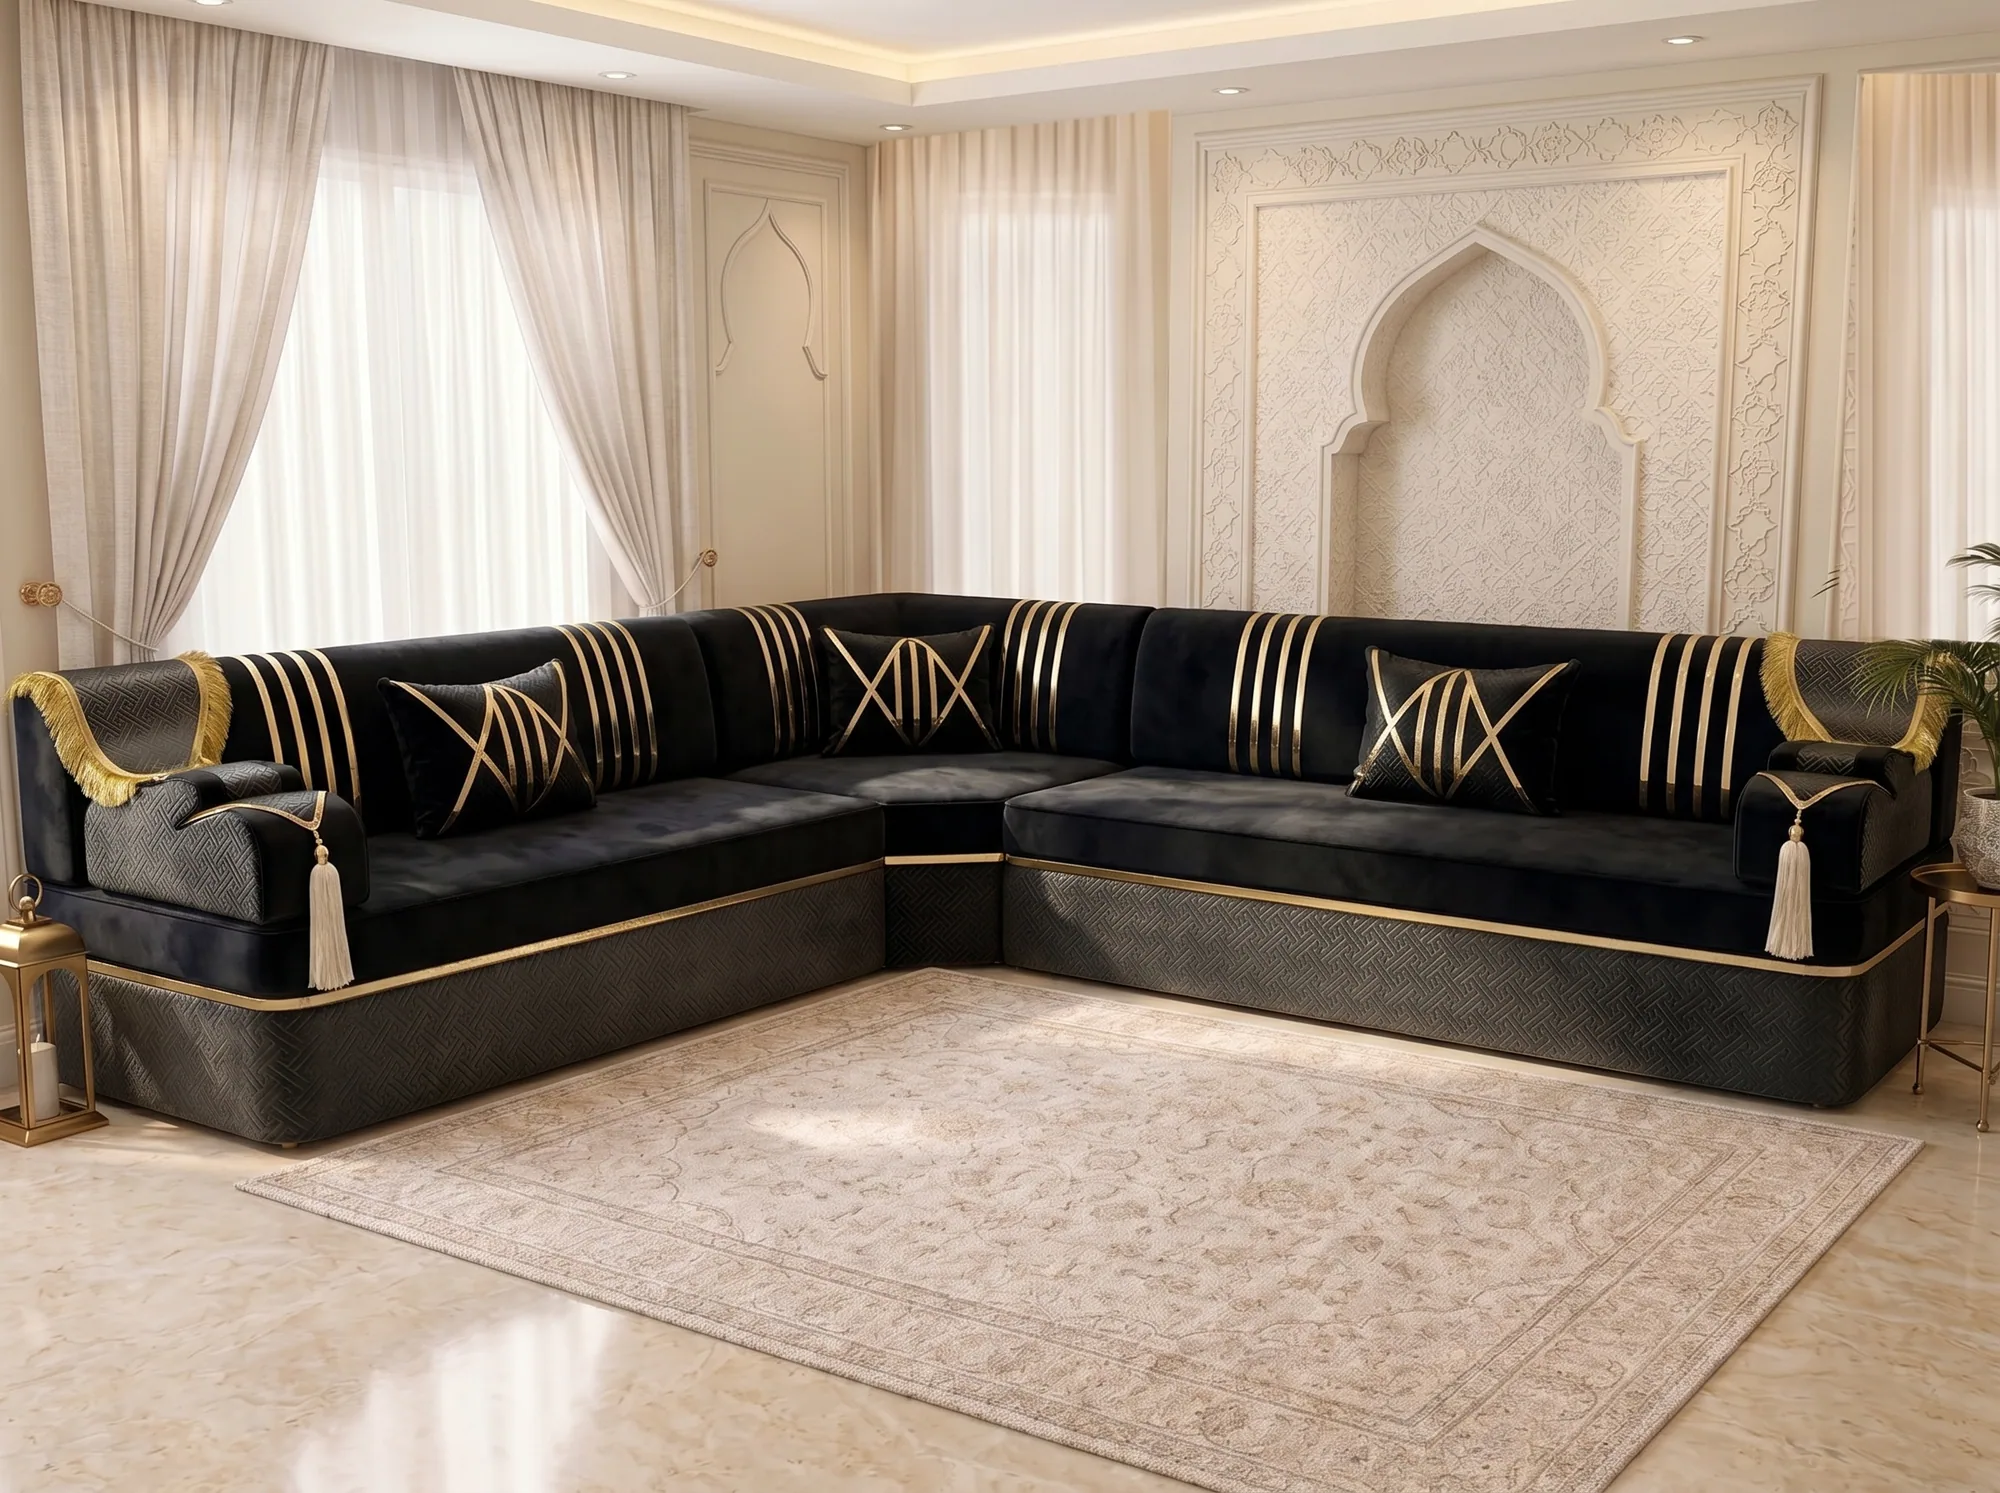
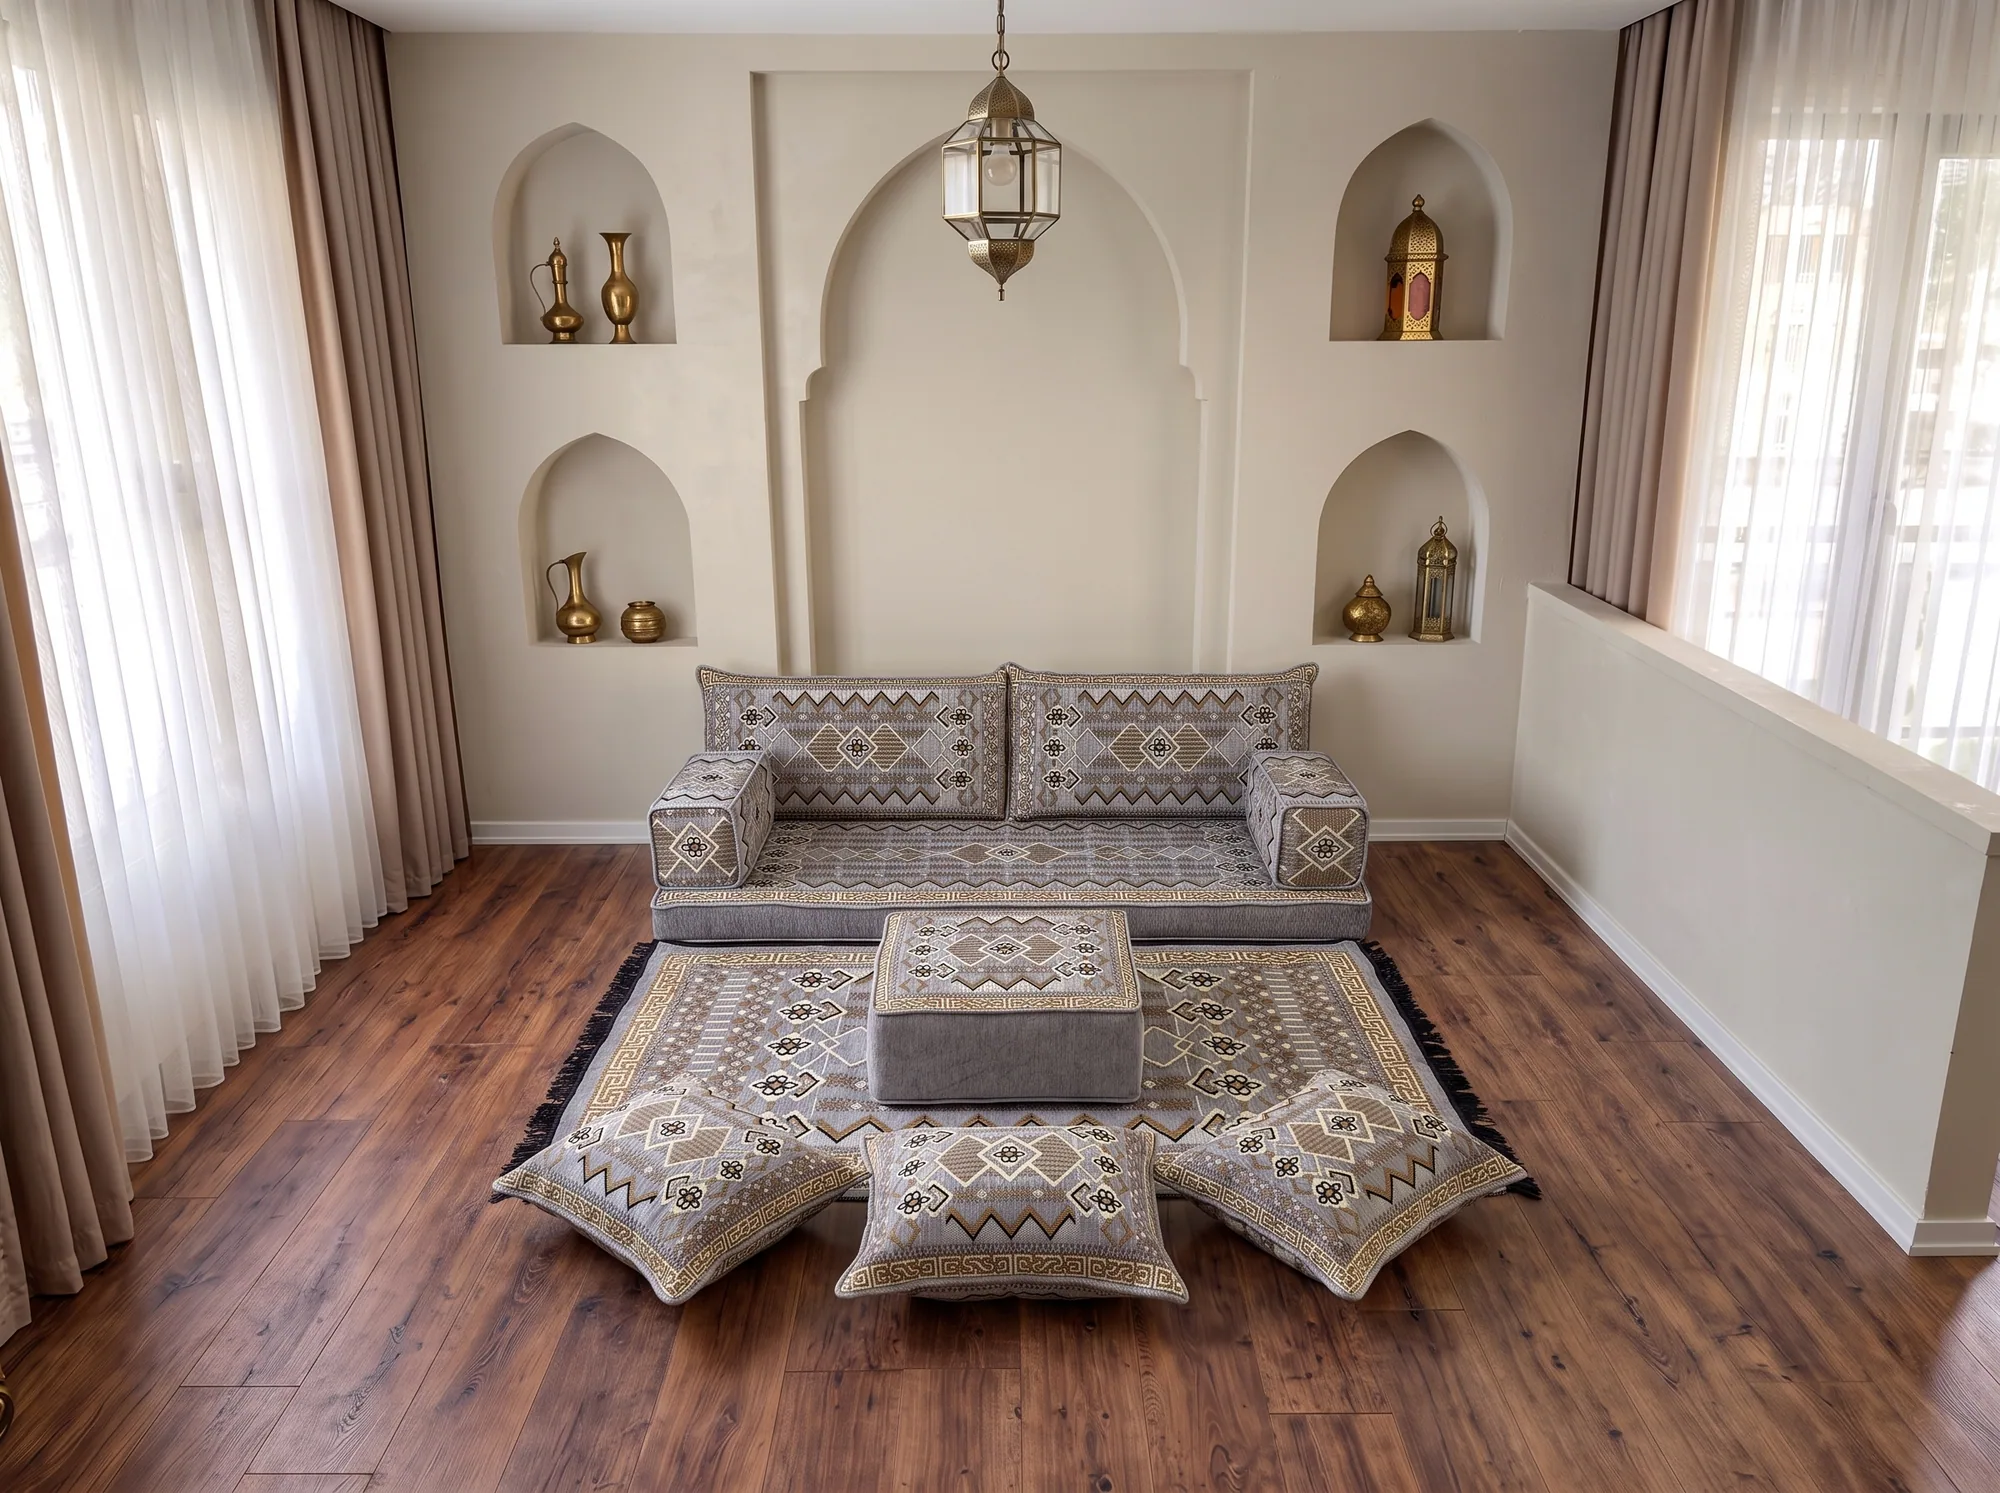
One fact shapes everything that follows: Arabic seating is planned against the walls, not floated in the room. That holds for both of Sofhu’s products. On the low Arabic floor sofa, loose back cushions lean on the wall behind the seat mattress. On the raised Arabic majlis, upholstered units with fixed backs stand against it at sofa height. So the measurements that matter are the walls themselves, and anything fixed to those walls that the seating will meet.
What you need before you start
- A steel tape measure of five metres or longer. A fabric sewing tape stretches and sags over a long wall.
- Paper and a pencil. Squared paper makes the sketch easier, but any sheet will do.
- Your phone camera.
- A second person, if one is around, to hold the other end of the tape on long walls.
Write in centimetres if you can. Move rugs, side tables and anything else standing against the walls you plan to use, so the tape can lie flat on the floor against the wall.
Start the sketch now: draw the room from above as a simple rectangle, or whatever shape it is, and mark where the door is. It does not need to be to scale. It only needs somewhere to write each number as you take it.
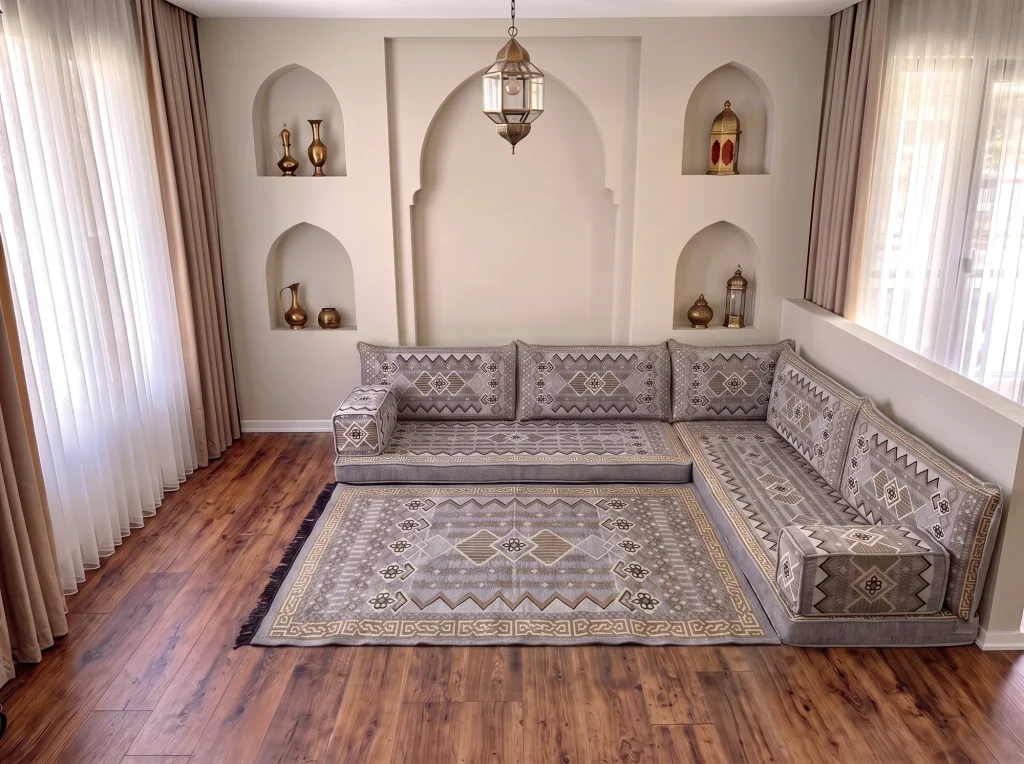
Step 1: wall lengths, measured low
Measure each wall the seating will run along, from corner to corner, with the tape on the floor or just above the skirting board. This is the most important number, so take it twice, once from each end. If the two readings differ, measure a third time.
Why low down? The base of the seating sits at floor level, and that is where it has to fit. Walls often lean a little, and a figure taken at chest height can differ from the one at the floor.
For each layout, measure these walls:
| Layout | Walls to measure |
|---|---|
| Single row | The one wall, full length |
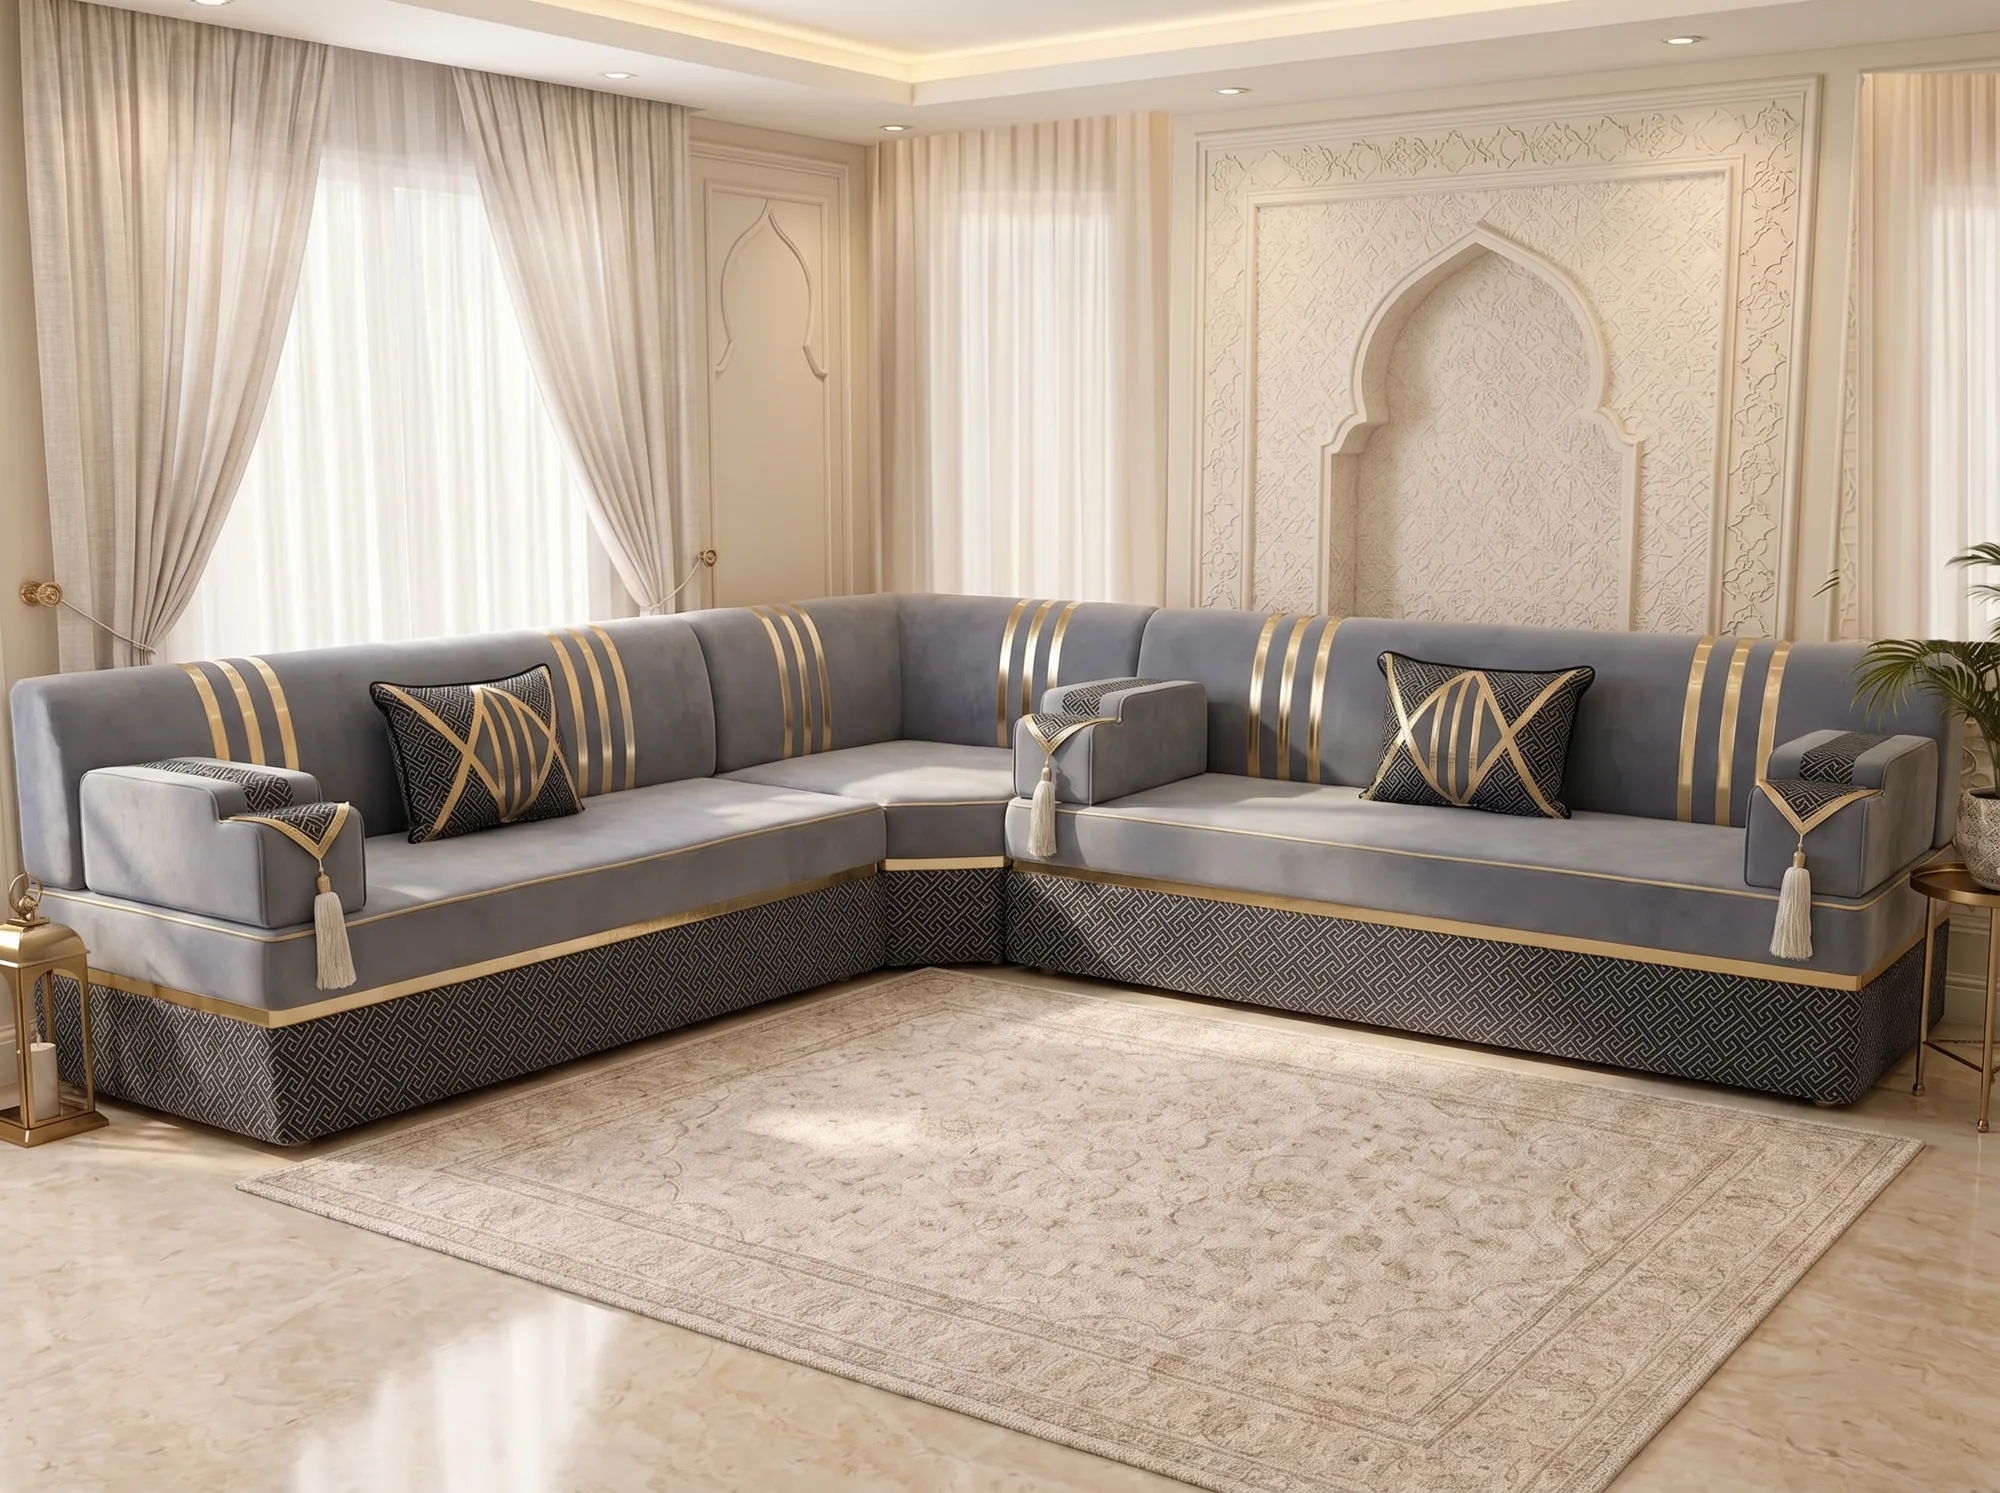
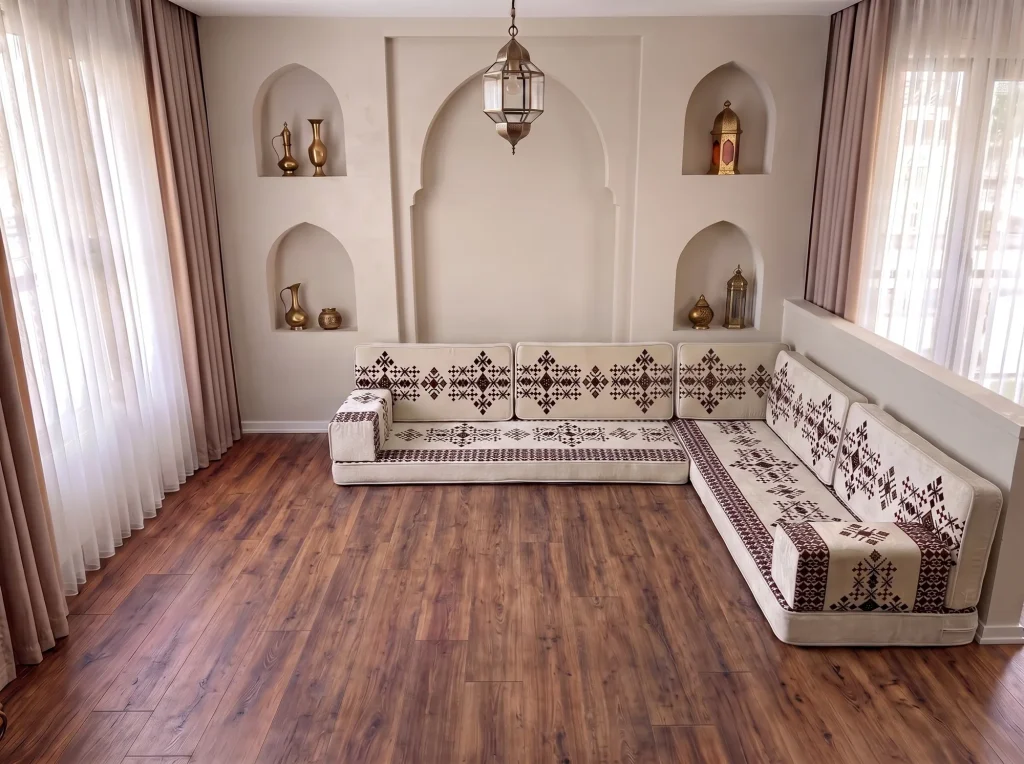
| L-shape | Both walls that meet at the corner |
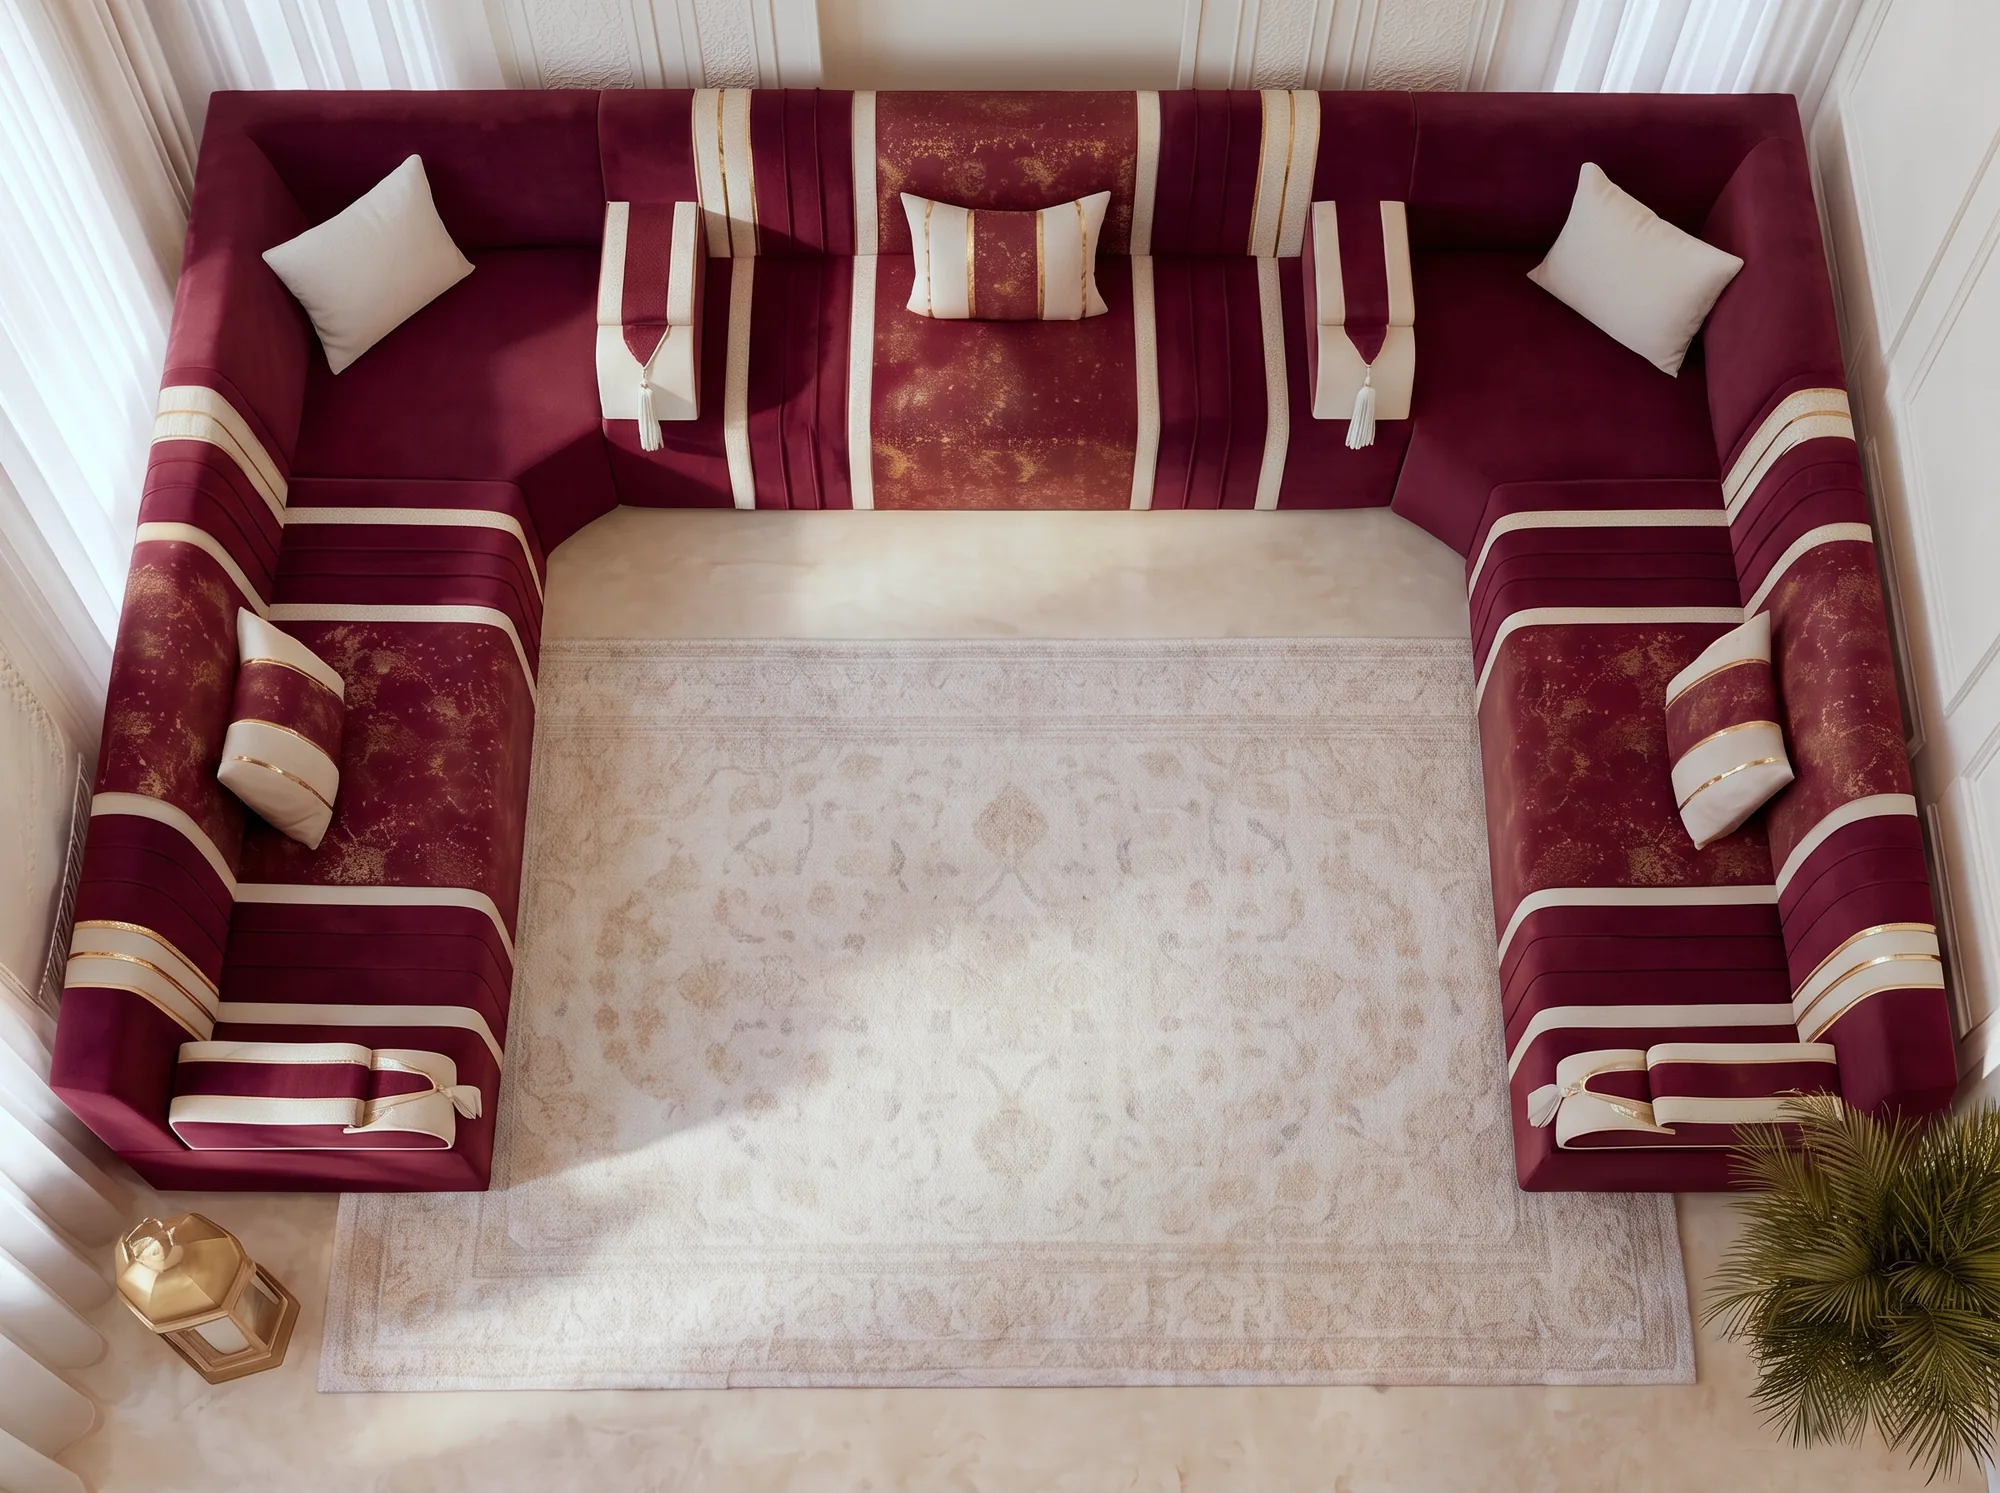
| U-shape | The back wall and both side walls |
Even if you only plan a single row, write down the full room length and width as well. They tell the workshop how far the seating can come into the room and what size of rug will sit in front.
If the seating will not run the full length of a wall, mark where you want it to stop and measure from the corner to that point.
Step 2: doors, door swing and walkways
A door needs three numbers: the distance from the nearest corner to the edge of the door frame, the width of the frame, and the width of the door leaf. The leaf width is how far the door reaches into the room when it opens.
Draw the swing as a quarter circle on your sketch and note which way the door opens. Seating must stay outside that arc, with space left to walk in comfortably. If the door opens against a wall you want to use, say so. The row on that wall will start beyond the open door, and its end will be an open end that needs an armrest.
Mark any other route people use: a way through to a balcony, a second door, a path to the kitchen. On a U-shape, also think about how guests reach the far seats. The open side of the U should face the door or the walkway, not a blank wall.
Step 3: windows, sills, radiators and sockets
Anything fixed to a wall behind the seating changes how the backrests sit, so each item needs a position and a height.
- Windows. Measure from the corner to each side of the window, and from the floor up to the sill. A low sill may sit below the top of the backrest, and a sill that sticks out can push the backrest forward. Note full-height windows and balcony doors too, since backrests need something solid to lean on.
- Radiators. Record the width, the height from the floor to the top, how far the radiator stands off the wall, and its distance from the corner. Foam and fabric should not be pressed against a hot radiator, and seating in front of one blocks the heat. The usual answers are to stop the row before the radiator or to leave that wall free.
- Sockets and switches. Mark each one with its distance from the corner and its height. You may want a phone charger or lamp socket to stay reachable at the end of a row.
- Vents and air-conditioning units. Floor vents and low wall units need clear space in front.
- Fitted furniture, columns and alcoves. Give the depth and width of anything that steps the wall in or out.
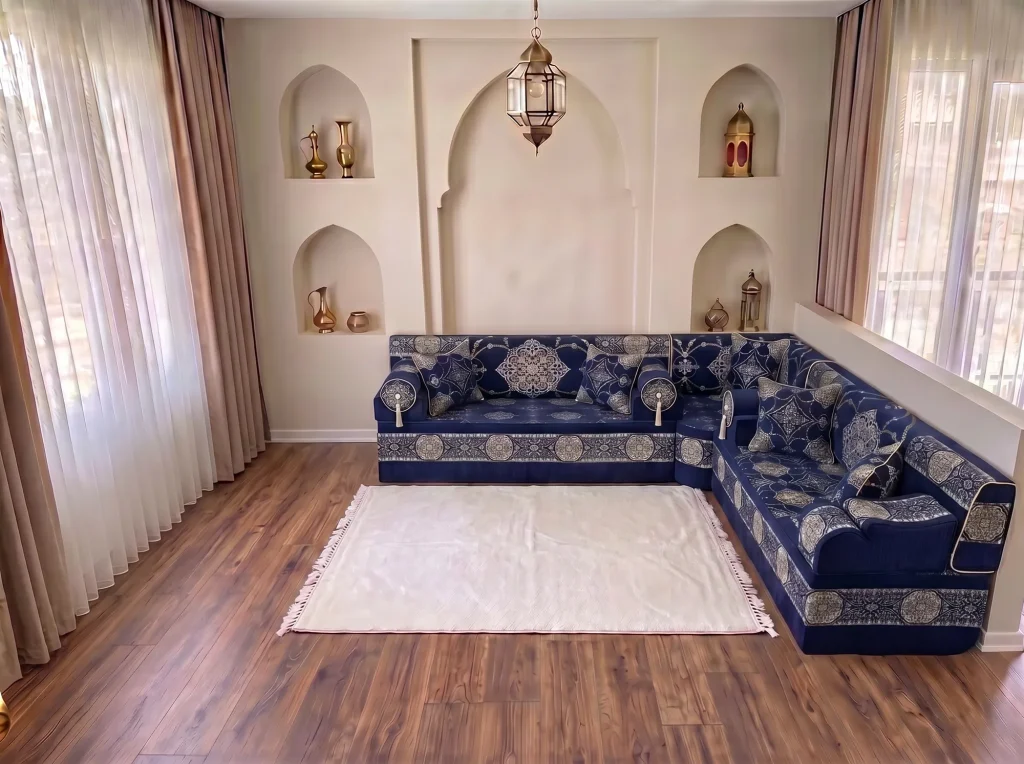
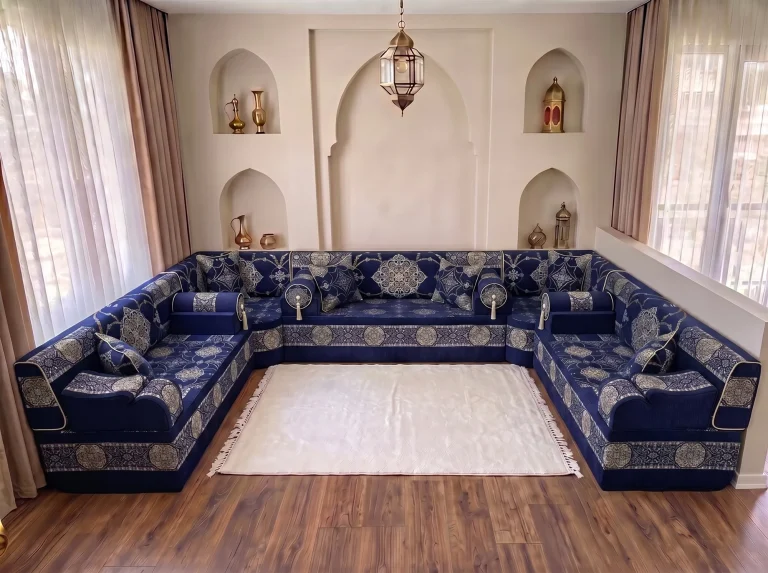
The navy set above is a raised majlis in an L-shape. Its fixed backs are taller than a floor sofa’s loose cushions, so sill heights matter even more.
Step 4: corners and skirting boards
Corners are where an L or U either meets cleanly or leaves a gap, so look at each one closely.
Check whether the corner is square. A simple method: measure 60 cm along one wall from the corner and 80 cm along the other, then measure the diagonal between those two points. If it is 100 cm, the corner is a true right angle. If it is noticeably more or less, write the figure down and send it.
Then look at the skirting board. Measure its height and how far it stands out from the wall. A deep skirting holds the base of the seating slightly off the wall while the backrest above leans back to touch it. That is normal, but the workshop should know the depth, and on an L-shape the two skirtings meeting in the corner take a little length off both walls.
Note also any pipe that runs along the skirting, a boxed-in corner, or a step in the floor level.
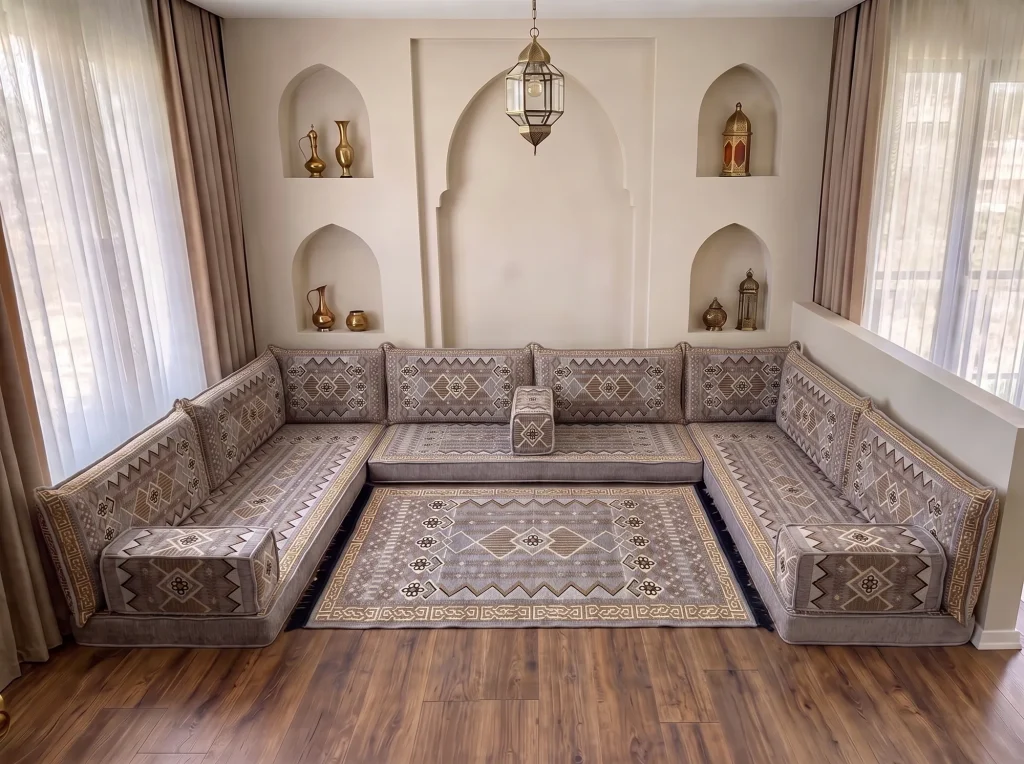
Step 5: photos and a quick sketch
Photographs catch what a sketch misses. Take one photo of each wall, straight on, from far enough back to show the whole wall from floor to ceiling. Add one of each corner, one of the doorway with the door open, and one of the floor.
Then finish the sketch. It should show:
- the room outline with every wall length written along it;
- doors with their swing, and windows with sill heights;
- radiators, sockets and anything else fixed to the walls, with distances from the corners;
- the layout you want, drawn as a thick line along the walls;
- which ends of the seating are open and which meet a wall.
Worksheet to copy
Copy this list into a message or onto paper and fill in each line.
- Room length and width: ___ cm × ___ cm
- Wall A (back wall) length: ___ cm
- Wall B (left) length: ___ cm
- Wall C (right) length: ___ cm
- Door: on wall ___ , ___ cm from corner, frame ___ cm wide, leaf ___ cm, opens inward or outward
- Window: on wall ___ , from ___ cm to ___ cm, sill height ___ cm
- Radiator: on wall ___ , ___ cm from corner, ___ cm wide, ___ cm high
- Skirting: ___ cm high, ___ cm deep
- Layout wanted: single row, L or U
- Open ends: ___
- Floor type: carpet, wood, tile
Common measuring mistakes
Most problems come from a handful of habits.
- Subtracting your own allowance. Send true wall lengths. Let the workshop decide the fitting tolerance.
- Measuring at chest height. The set sits on the floor. Measure there.
- Reading the tape from the wrong end. On some tapes the case itself is part of the measurement. Check how yours reads into a corner.
- Mixing units. A sketch with some walls in inches and some in centimetres is the fastest route to a wrong cut.
- Forgetting the door leaf. The frame width is not the swing.
- Ignoring the way in. Check that the stairs, lift and front door suit a parcel of seating. Sofhu sets travel vacuum packed, which helps, but mention a narrow staircase or small lift anyway.
- Measuring the old sofa instead of the room. The new set is drawn to the walls, not to what stood there before.
Sending your majlis measurements
Once the numbers are on paper, send the sketch, the worksheet and the photos together. Say how many people usually sit in the room and how many on a big evening; the guide to how many people a majlis seats turns wall length into places. If you have not settled on a shape, the L-shape and U-shape majlis page compares them, and a majlis in a small apartment covers tight rooms.
Sofhu is the manufacturer and builds each custom majlis from the customer’s wall measurements, with free shipping worldwide. Browse majlis sofa sets for a layout you like, then get a quote by measurement or send everything by WhatsApp. The full ordering sequence is in how to order a custom majlis online.